Drawing human arms can be intimidating at first, but with a simple approach and basic understanding of shapes and proportions, anyone can learn. This beginner-friendly guide breaks down the process into easy steps so you can start sketching confidently.
Step 1: Draw the Basic Shape of the Upper Arm
Begin with a light oval or a long vertical cylinder to represent the upper arm. This form goes from the shoulder to the elbow. Keep your strokes light and simple—this is just your construction line.

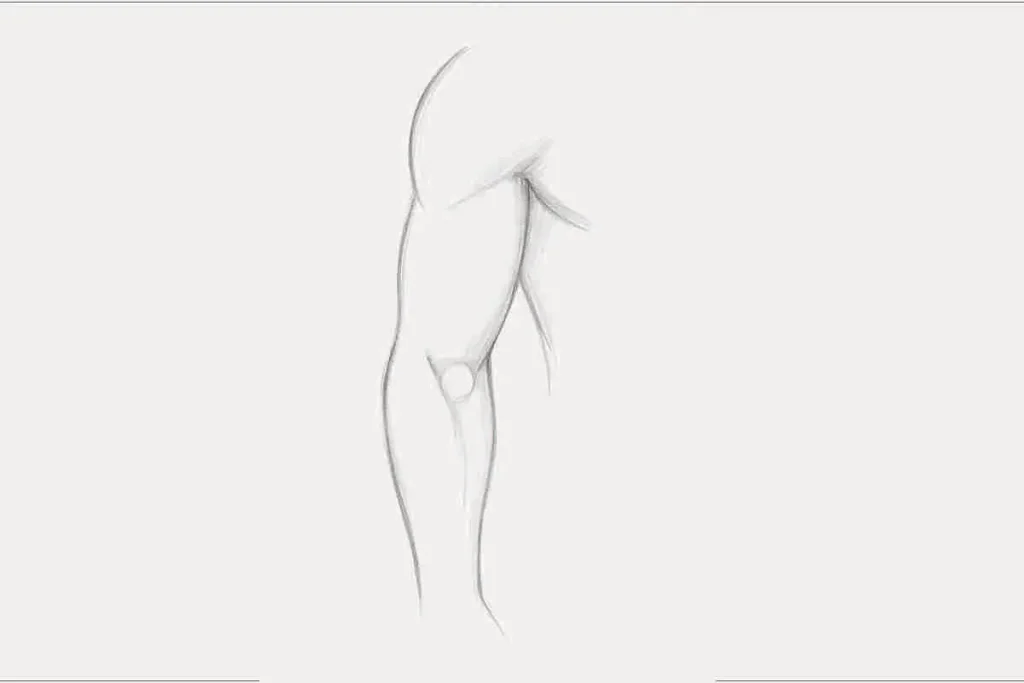
Step 2: Add the Forearm
Next, draw another oval or long shape extending downward from the elbow. This represents the forearm and usually bends slightly inward. Make sure the forearm is slightly thinner than the upper arm.
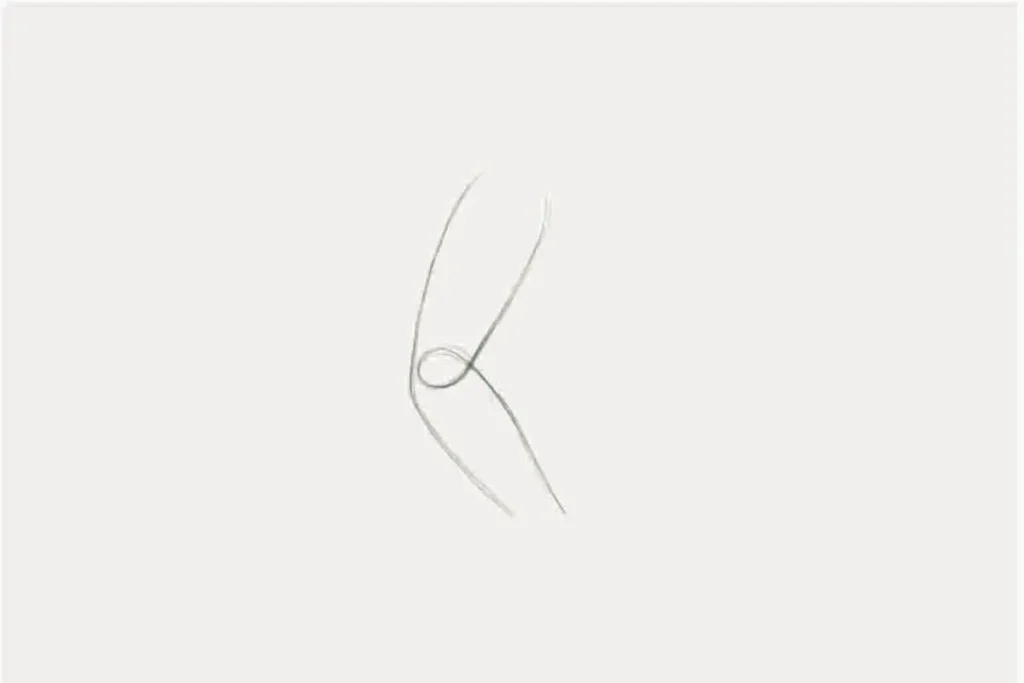
Step 3: Define the Elbow Joint
At the connection point between the upper arm and forearm, draw a soft curve or circle to represent the elbow. If your pose has a bent arm, make sure this joint shows the angle clearly.
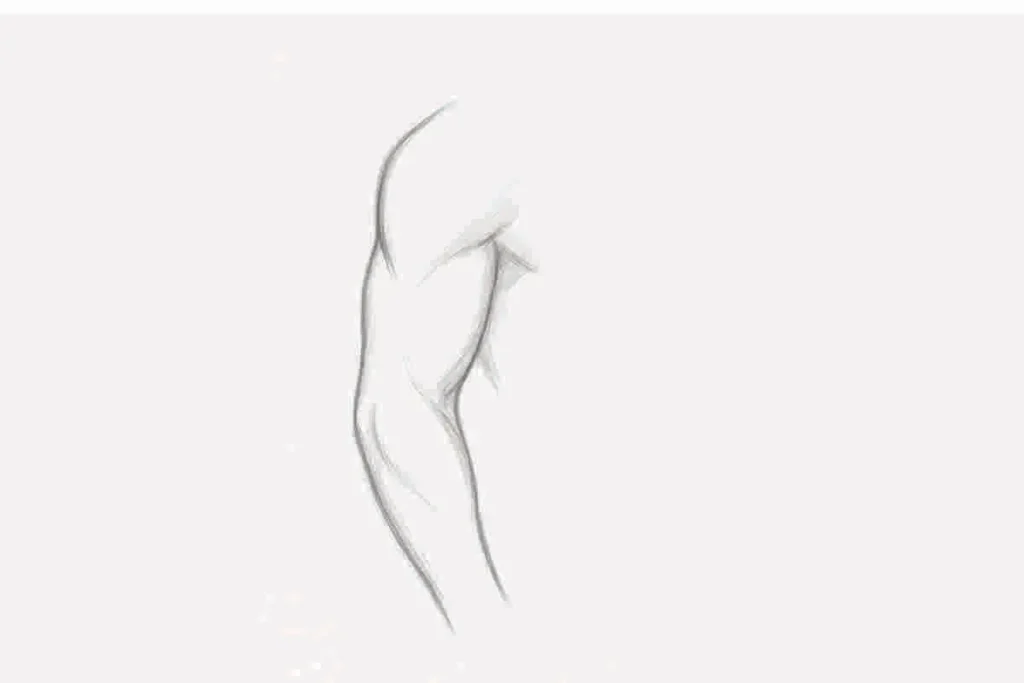
Step 4: Add Light Muscle Details
Once the basic form is complete, sketch light curves to show where the biceps and triceps sit. Don’t focus on making the muscles perfect—just suggest the form to keep it beginner-friendly. Indicate the wrist lightly at the bottom.
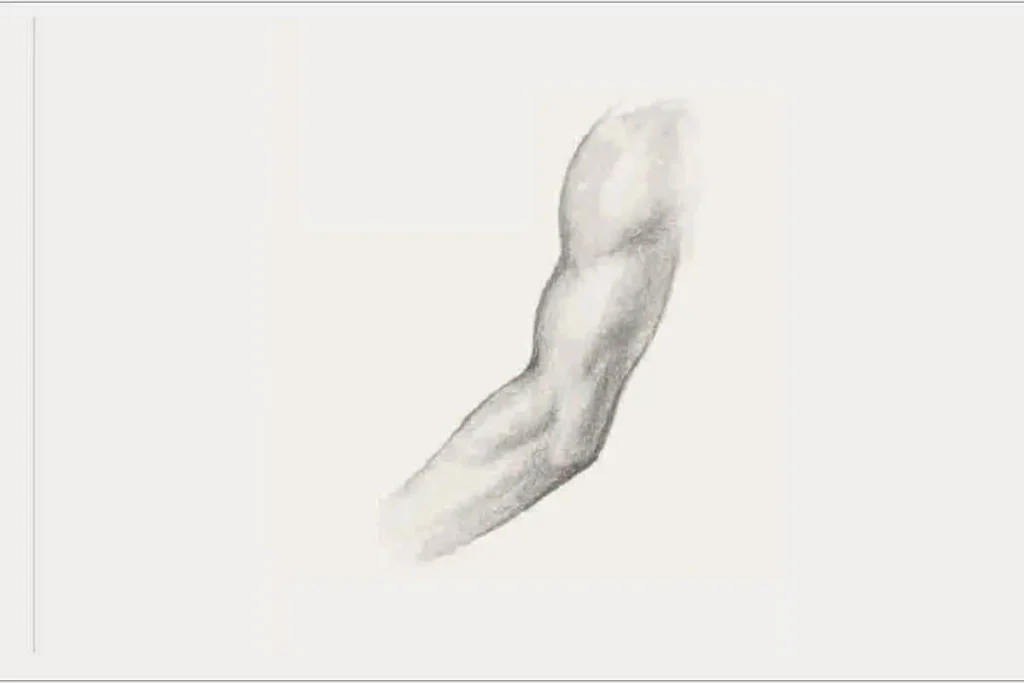
Step 5: Refine and Add Basic Shading
Clean up your sketch by erasing extra lines. Then, use soft pencil strokes to add gentle shadows along the curves of the arm, especially where the arm bends or overlaps. This gives your drawing depth and realism.
Final Tips for Drawing Arms
- Use references: Real-life photos or your own arm in a mirror help a lot.
- Stay consistent: Keep the upper arm and forearm proportional.
- Practice different poses: Straight arms, bent arms, arms holding something—all add variety.
- Draw lightly at first: Start loose, refine later.
Conclusion
Arms might seem complicated, but with practice and a step-by-step method, they become a fun challenge to tackle. Keep your drawings simple at first, and focus on structure before details. As you repeat the process, you’ll gain confidence and develop your own style.