Drawing realistic hair can feel overwhelming, but with the right technique and a bit of practice, you’ll be amazed at how natural and lifelike your sketches can look.
In this tutorial, you’ll learn how to draw hair with pencil step by step, focusing on flow, texture, volume, and shading.
✏️ Materials You’ll Need
- HB pencil (for light sketching)
- 2B or 4B pencil (for darker strokes)
- Blending stump or tissue
- Eraser (kneaded or precision tip)
- Smooth paper (for clean shading)
💇 Step-by-Step: How to Draw Hair with Pencil
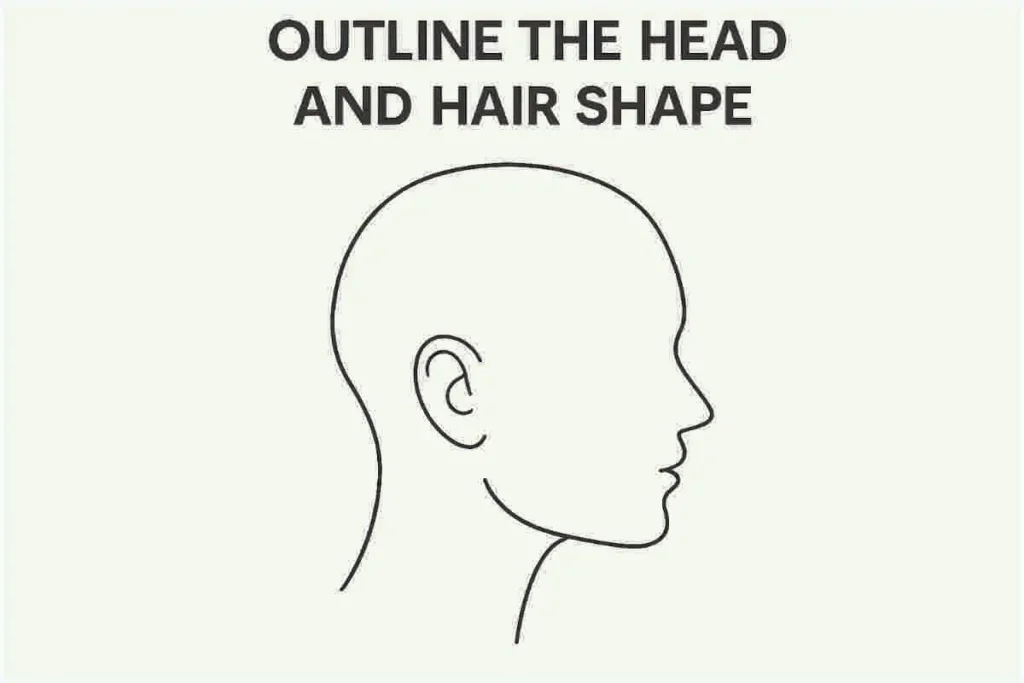
Step 1: Outline the Head and Hair Shape
Start by lightly sketching the shape of the head. Then outline the flow of the hair—think in big shapes, not individual strands.
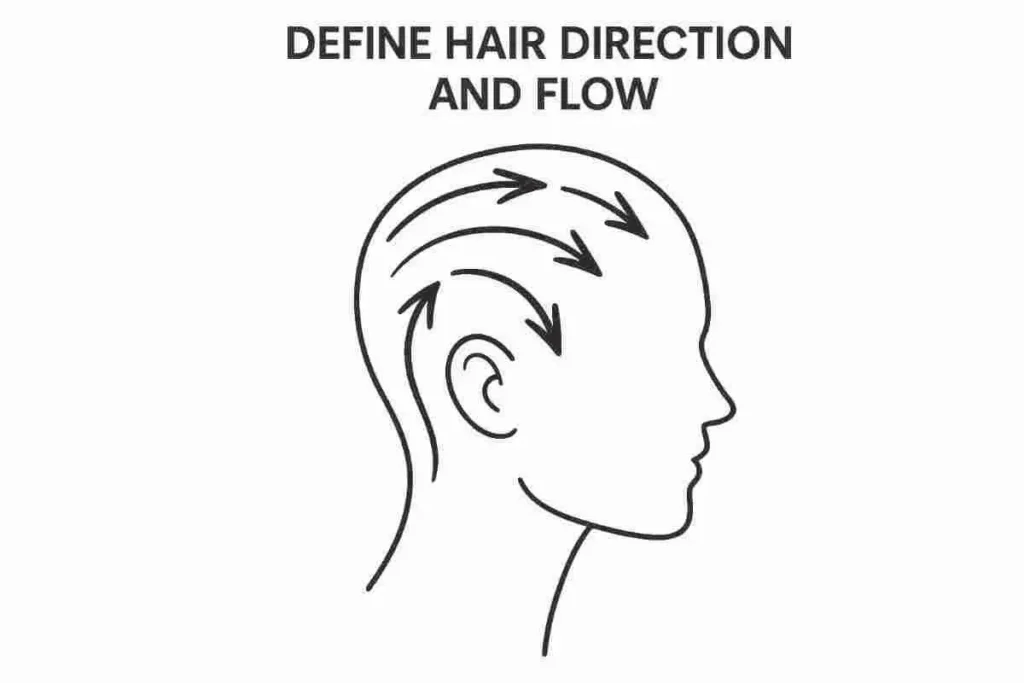
Step 2: Define Hair Direction and Flow
Use long, curved pencil strokes to indicate the direction of hair growth. Don’t add details yet—just map out the movement and flow.
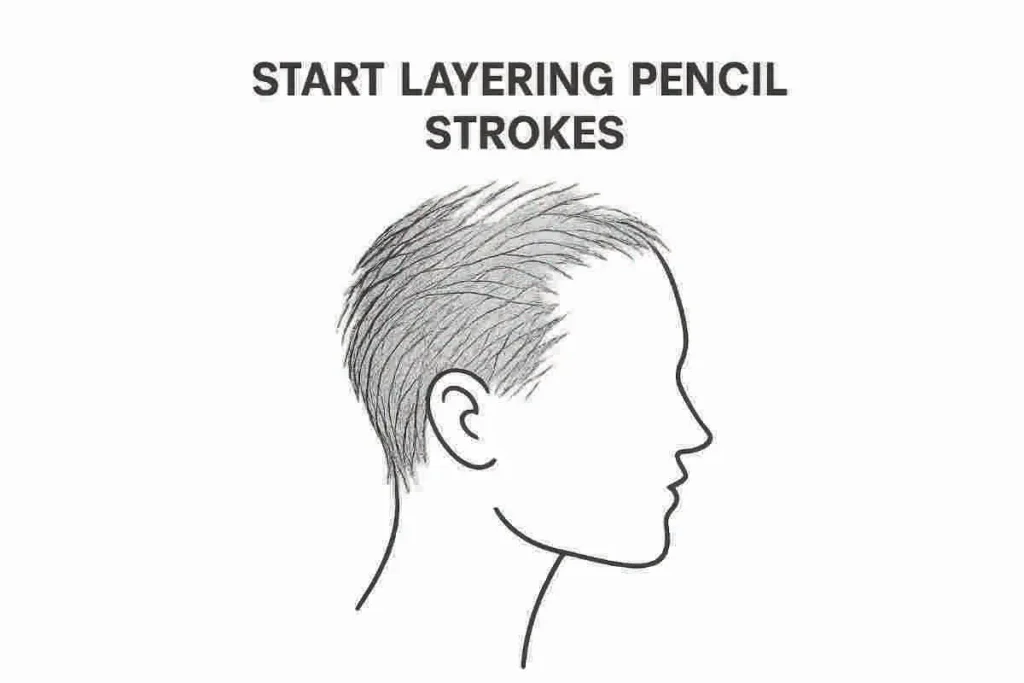
Step 3: Start Layering Pencil Strokes
Begin adding darker pencil strokes where shadows and volume should be. Always stroke in the direction of the hair flow to keep it natural.
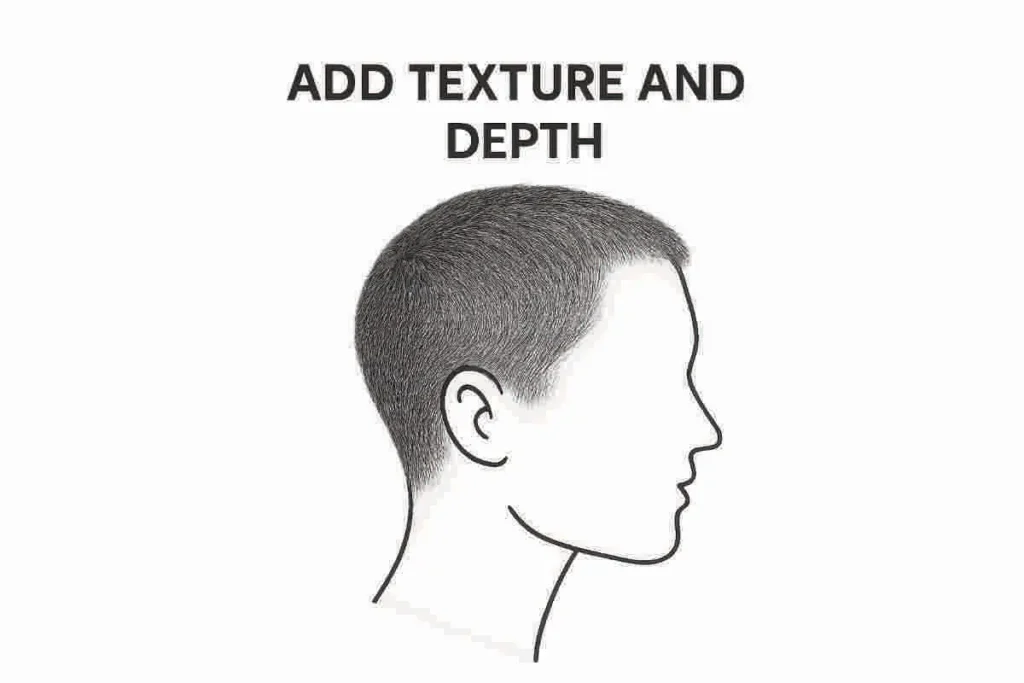
Step 4: Add Texture and Depth
Use a combination of light and dark strokes to build layers. Focus on groups of hair rather than individual strands. Add soft shading to create volume.
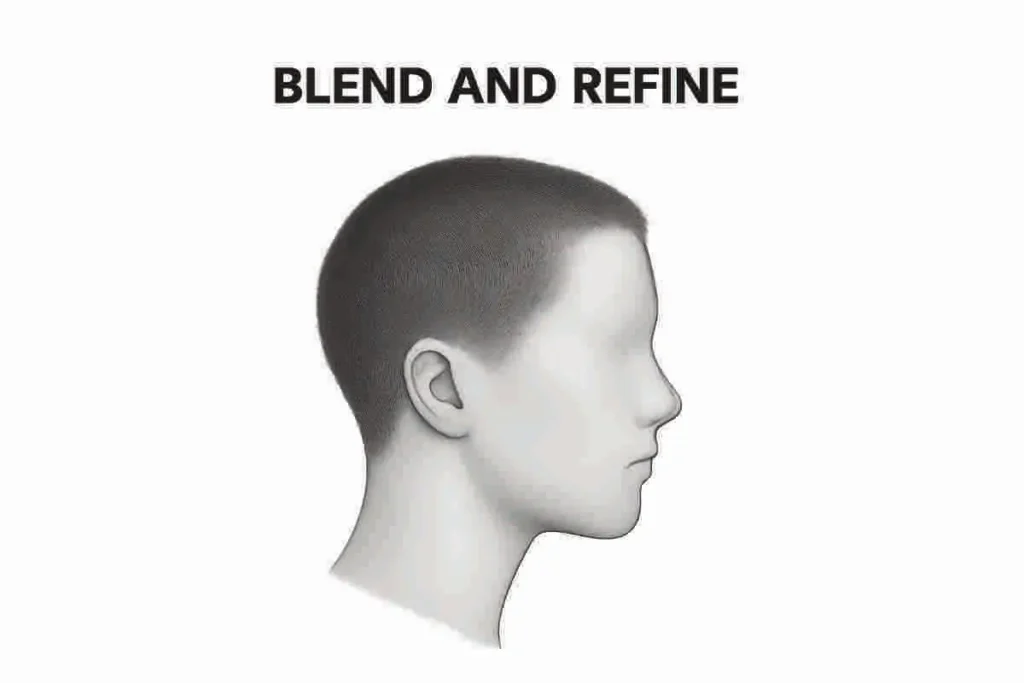
Step 5: Blend and Refine
Use a blending stump to soften the shadows. Use an eraser to pull out highlights by lifting graphite in lighter areas.
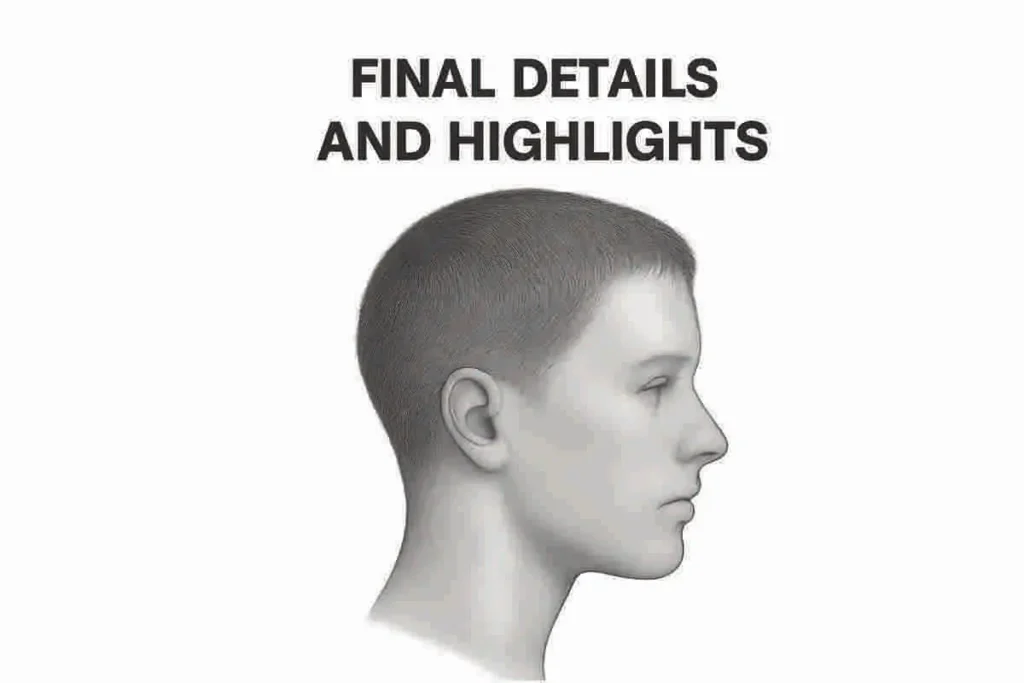
Step 6: Final Details and Highlights
Darken key strands and roots. Add individual flyaway hairs to enhance realism. Use precision erasing to refine bright highlights.
🎯 Tips for Drawing Realistic Hair
- Don’t draw every strand—think in shapes and clumps
- Vary line pressure and pencil softness for texture
- Highlights are just as important as shadows
- Observe real hair references for light direction
📌 Final Result
Hair is one of the most expressive parts of a portrait. With this technique, you’ll be able to create natural, flowing, and realistic hair using just pencil and paper.
👉 Save this guide and come back to practice often!