Drawing trees is a great way to practice shapes, shading, and line work. In this guide, you’ll learn how to draw a simple tree step by step, even if you’ve never picked up a pencil before.
Let’s start with a simple sketch of a tree with a trunk and leafy top, using just pencil and paper.
🌳 Materials You’ll Need
- Pencil (HB or 2B)
- Eraser
- Paper or sketchbook
- Optional: colored pencils or pens
✏️ Step-by-Step: Draw a Simple Tree
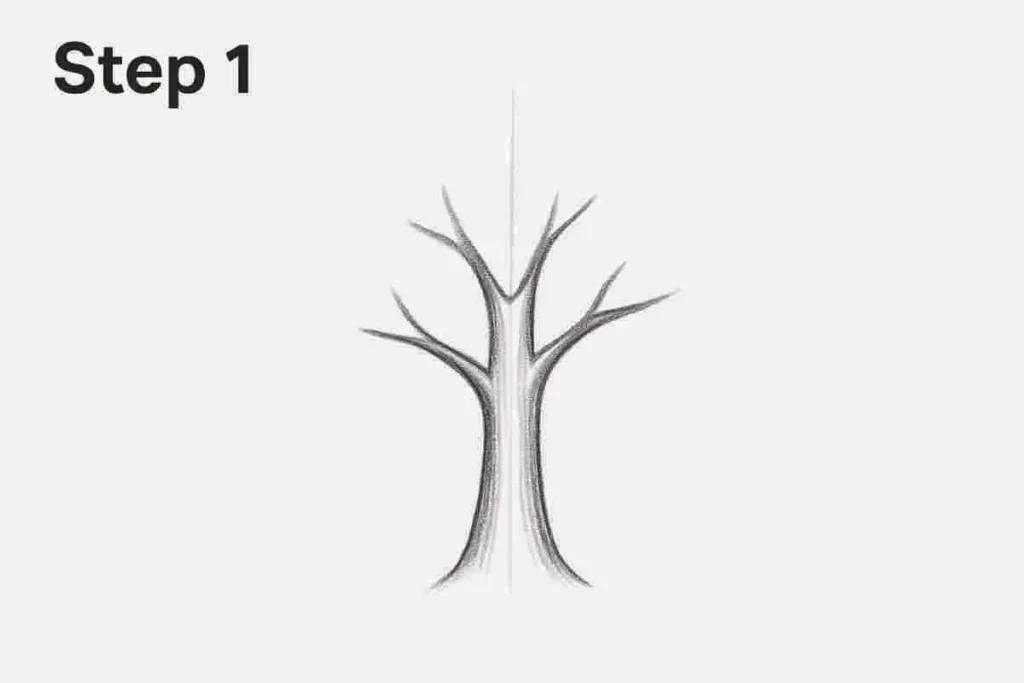
Step 1: Draw the Tree Trunk
Start with a vertical line in the center. This is your guide. Then draw two slightly curved vertical lines for the sides of the trunk.
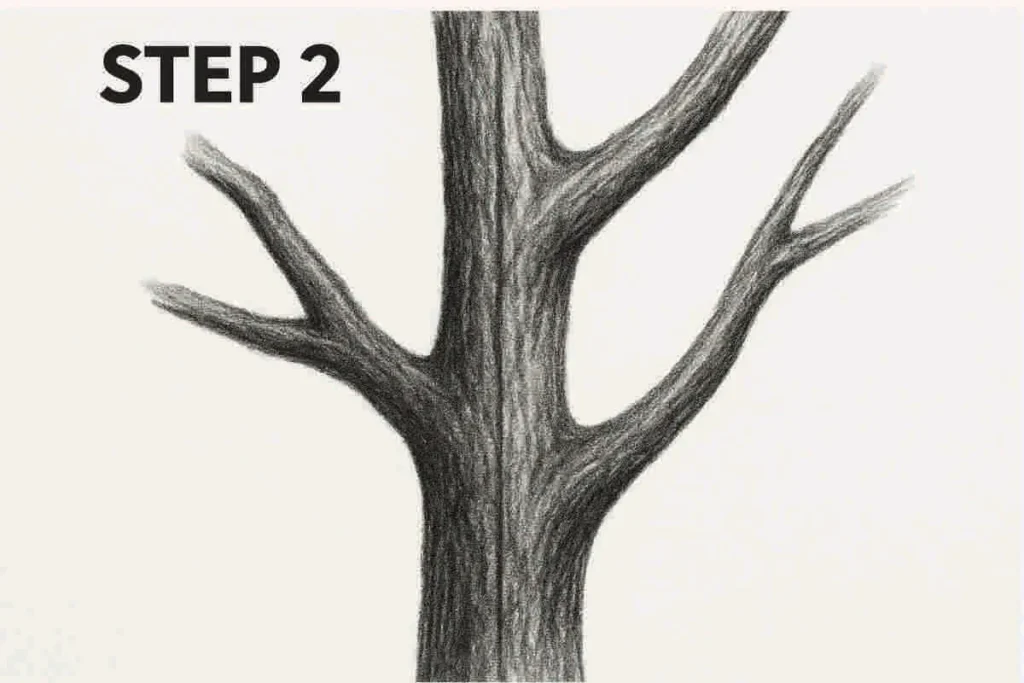
Step 2: Add the Main Branches
From the top of the trunk, draw a few large branches splitting outwards. Keep them uneven and organic.
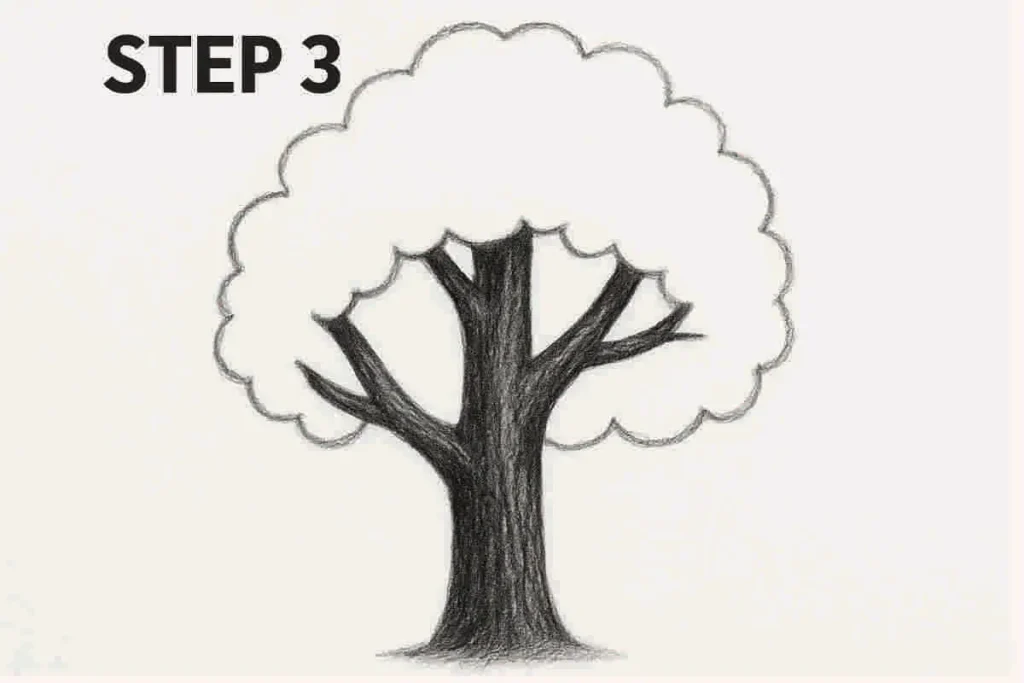
Step 3: Outline the Canopy
Sketch the rough shape of the foliage. Use light, wavy lines to create a fluffy cloud shape.
Step 4: Add Texture to the Bark
Inside the trunk, draw vertical lines and slight curves to simulate bark texture. You can also darken one side for light shading.
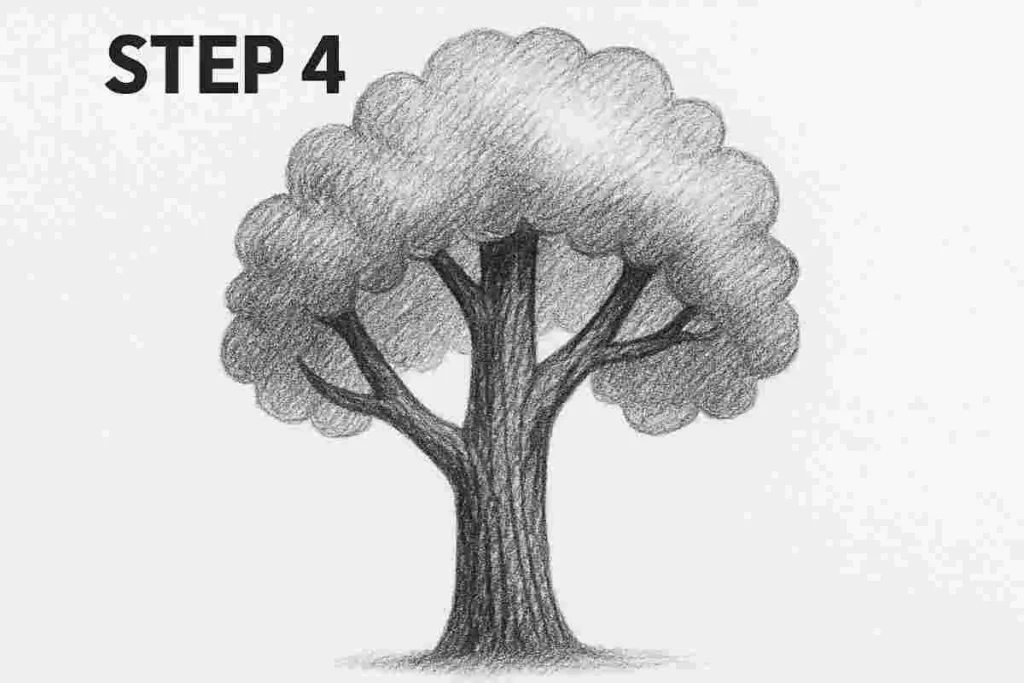
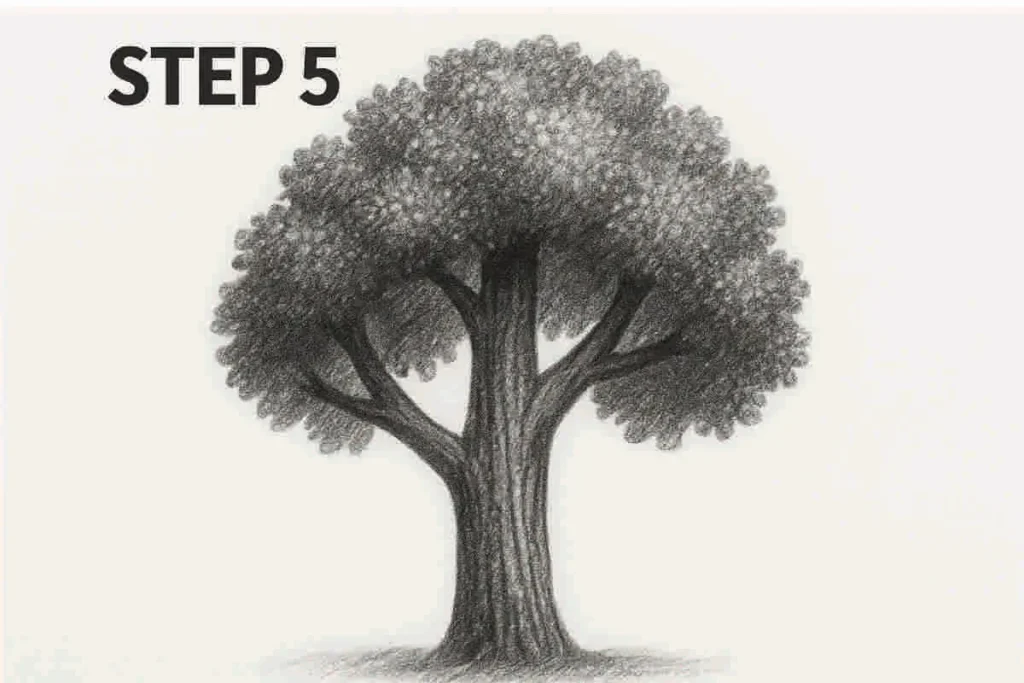
Step 5: Detail the Leaves
Add small squiggly lines and tiny curves inside the canopy to suggest leaf clusters. Don’t worry about being perfect!
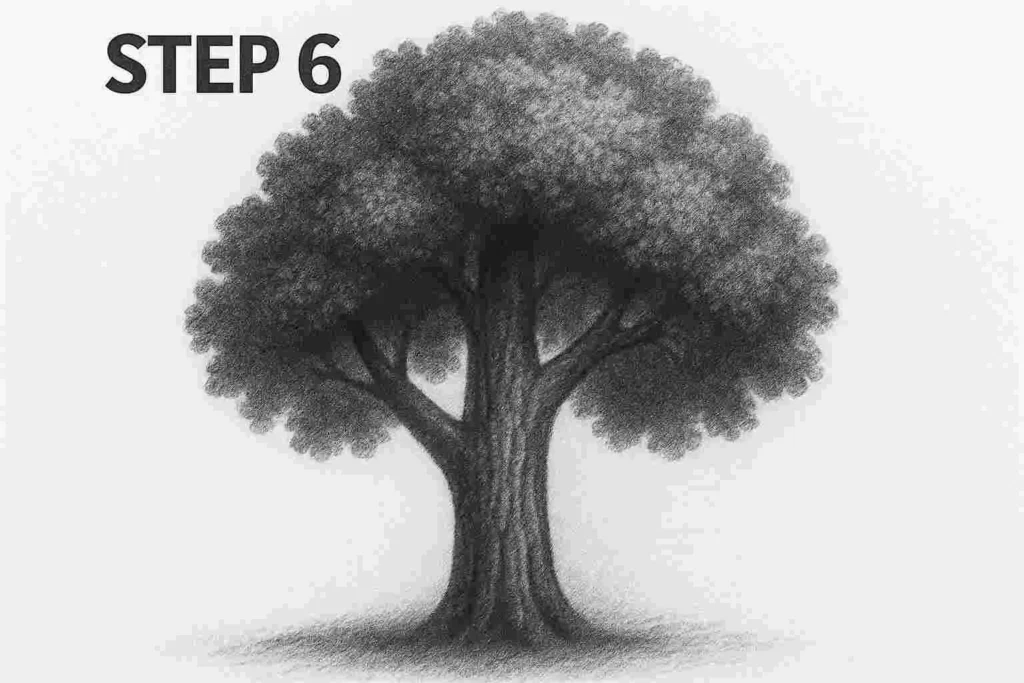
Step 6: Shade and Final Touches
Use gentle shading to darken parts of the foliage and trunk. Blend with your finger or a blending stump if you wish.
🎉 Final Result
You’ve drawn your first tree! It’s okay if it’s not perfect—trees are all different. Keep practicing by changing the trunk shape, canopy size, or adding background.